Menu
  • Home
  • Reviews
  • About
  • Store
  • Calendar
  • Radio
Connect:
Get it on™

Health & Beauty / Fashion / places / Dining

BLOG

Bead Crochet:  The Basics

12/14/2015

Comments


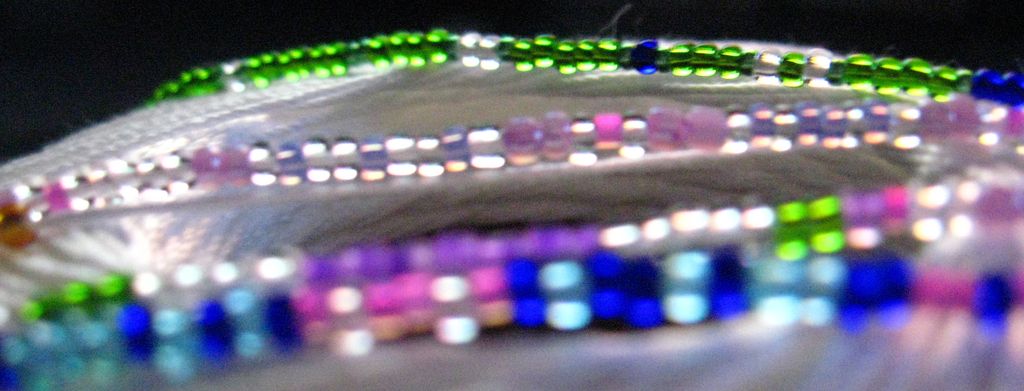
​A few of you have written to me and asked for a tutorial on my bead crochet bracelets.  My busy schedule does not permit me the time it takes to make a professional video with the kind of detail necessary to learn bead crochet.  The secret is I learned bead crochet thanks to a detailed animation in a Youtube video by Ann Benson from beadseast.com. [below]    


​Mastering the craft 

​With all the help and convenience of Youtube it still took me about 6 months to master the craft.  First you'll need 6-7 feet of thread.  You'll want to thread all your beads before you start crocheting.  The hardest part is the first chain, then the second round.  Usually after the second round, if you haven't made any mistakes, the rest is a breeze.  It's still not easy but the work is almost therapeutic.  It's a great night time activity while you're watching TV or, if your'e like me, taking a break from blogging.  You can see some of my work here.  

Time

​A typical 7 inch, 6 round bracelet will take you about 5 hours to make at first.  With intense focus and practice you could finish in 3.  Let me know if you can beat my time!  At a leisurely pace it takes about 3 nights.  If you're like me you have too much to do during the day to dedicate 5 solid hours of crochet in one sitting.  A friend of mine takes her crochet on the train or bus.  It's a nice break from the usual headphone-wearing, eyes-glued-to-a-screen commuter.  But be prepared to answer questions.  

Materials

Beads - It's a good idea to start with larger beads.  Size 6 beads are great for starting out.  Japanese miyuki beads are the highest quality.  The uniformity in size and shape ensures a smooth, sleek looking bracelet.  Cheaper beads tend to vary slightly in size and can make for a lumpy looking bracelet.   

Thread - Always use a size 10 crochet thread.  You can choose from a variety of colors.  

Beading Needle - You're going to need a beading needle to thread the beads.  You'll want a fine, more flexible needle for smaller beads and a heavy, more stiff needle for larger beads.   Be careful!  If you drop one it will be lost in the carpet forever.

Crochet Hook - I use a 2.75 mm blue Boye.  Did you know that there is a United States Standard of crochet hook sizes?  Neither did I.  

Finishing Your Bracelet:  The Invisible Join Technique

So that should be all you need to get started with bead crochet.  Now lets get to finishing your bracelet.  You could end with caps and a clasp but I prefer the invisible join method seen here in another animation by Ann Benson [below]: 

Now that you've joined your bracelet and nailed your technique you can move on to advanced techniques like patterns, adding new thread, expanding and contracting.  But that's another blog post for another day.  If you're feeling ambitious you can browse my patterns on my Pinterest board.  Happy crocheting! 

Tag us in your bead crochet photos and get featured on our Instagram!  @on_the_reg_ 

Lily Pond #bracelet Find it here: bit.ly/LilyPondBracelet #original #design #blue #water #lilies #lilypads #buds #blossoms #lotus #beads #beadcrochet #rope #glass #cotton #handmade #handmadewithlove #madeinamerica #madeinusa #craft #jewelry #jewelrygram #designer #local #etsy #etsyseller

A video posted by Andrea Romig (@on_the_reg_) on Dec 10, 2015 at 9:35pm PST

Comments

    Andrea Romig  

    Andrea is a mom, producer, and blogger from Foxborough, MA.  She is committed to promoting a fabulously sustainable lifestyle.  

    Archives

    January 2017
    October 2016
    March 2016
    December 2015
    October 2015
    December 2014
    November 2014
    October 2014

    Categories

    All

    RSS Feed

Powered by Create your own unique website with customizable templates.